The moment I walked into the master bedroom, I felt a sense of calm. With its vaulted ceiling and large sunlit window. I really want the master bedroom design to be soft and calm, a retreat in our Victorian Farmhouse. We’re really lucky to have the only exposed ceiling beam in the house, which our bed will sit underneath. We have a gorgeous, large sash window, which floods the room with light all day. Daisy (the Dashchund) in particular likes watching what is going on outside from here.
We also have the room across the landing, which will become a beautiful master ensuite with an original fireplace, roll-top bath, and dressing area. The room was originally a small sixth bedroom, with a modern ensuite crammed in (from Hall Farm’s short life as a B&B).


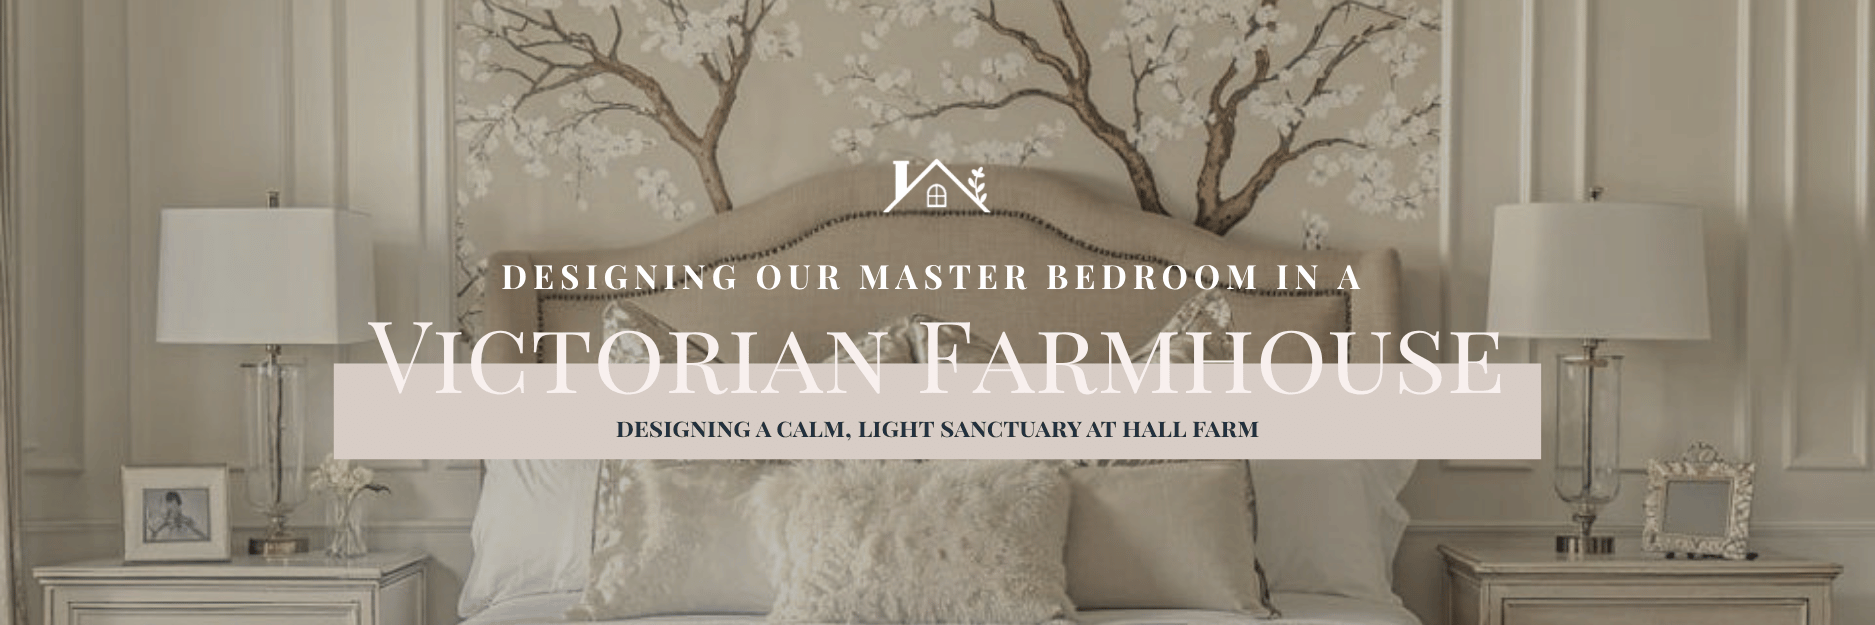
Victorian Farmhouse Master Bedroom Design
The direction for this room was more of a feeling than a vision at first. I knew, unlike a lot of the rest of the house, that I wanted the space to be light and airy but with a real warmth. As with my life in general, anything for ‘us’ tends to be put off till last. We have a really good knack for prioritising everyone else first, don’t we? A bit like my ADHD/ASC assessment, which I’ve been waiting for 4 years now.
The colour palette is neutrals, linens, stone; think tonality and textures. For this room, I’ve gone with Craig & Rose 1829 Vintage Colours – Pipe Clay as the main shade, with highlights of Round Room. Fixtures and hardware will be antique brass, as with the rest of the house. A touch of opulence with a chandelier and oversized mirror. Lots of textures with soft furnishings, cushions, bolsters, throws. Chaise Longue in the window. For storage, the far wall will feature wall-to-wall wardrobes with a hidden media wall.

Master Ensuite – Continuing the Calm
The palette and feel continue into the master ensuite. Natural stone floor, antique brass taps and shower. Stunning roll-top bath which will sit diagonally across the original fireplace. The second half of the room will be a dressing area, with a dressing table, customised shelving for accessories and a small hanging area.
Panelling throughout both rooms for cohesion and a link to the traditional. Plenty of atmospheric lighting and use of natural materials, wood, stone, linen and cotton. For the windows, then we will at some point have shutters made for both, but for now, it will be a mix of voile and screening, I think.
Heritage Bedroom Interiors
As it is a listed building, we have had to reconsider a few decisions to accommodate its original structure. The large beam had to be sandblasted before we moved in (along with a lot of the original woodwork). It still needs some work before we can then bring it back to its original state. The fireplace in what will be the ensuite has quite a deep hearth, but luckily, because of the roll top bath legs, it should sit comfortably across the corner of it. With a shower neatly tucked in what was the built-in wardrobe, the end panel of this had to be kept as it was original to the house build.

For me, this room was all about feeling like a sanctuary, somewhere to retreat to when everything becomes a little much. Where, even if everything else feels out of control, it makes you feel at ease and safe. I want to take the time to get this right, not cut corners, but it will take time. We’ve got the makings of a wonderful space, and I want to ensure that I create that, whilst respecting the tradition and history that has come before.
What Comes Next
So the plans are in place, and my Pinterest board is full. Next comes the exciting bit, creating the reality! I’m hoping the carpet will be fitted next week, so we can at least build our master bed and move in there. Everything is a bit of a knock-on effect. Once we get our master bed up, we can move the bed from the spare room to our middle son’s room. Which means we can then get the bed from the temporary flat we were in, which was originally meant to go in the spare room.
It also means we might have a bit more space in the outbuildings to get to some more furniture for the spare room and master, and finally get some of our clothing out of boxes and the ‘floordrobe’, which has become our lives. The ADHD side of me loves a good floordrobe, but the autistic side of me hates the mess and disorganisation of it all.